As a business professional or project manager who always has to prepare presentations in PowerPoint, you use existing company templates. But, in some situations, you have to get creative to impress your audience. Here is a simple guide on working with objects and shapes in PowerPoint to enhance your slides. Moreover, with the right usage of graphics, your presentation will become more visually appealing.
How to insert objects and shapes?
Start by selecting the object. If you want to duplicate it, use Ctrl + D.
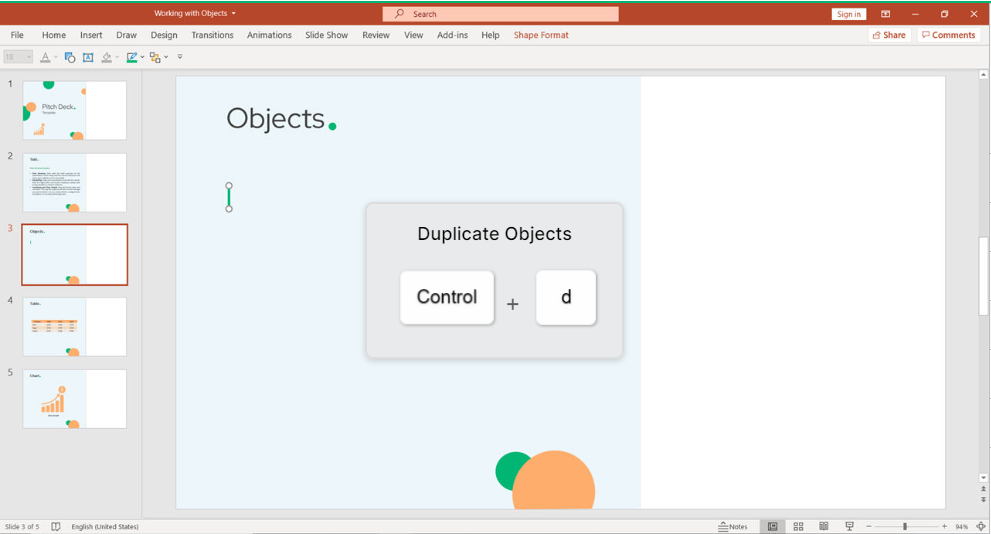
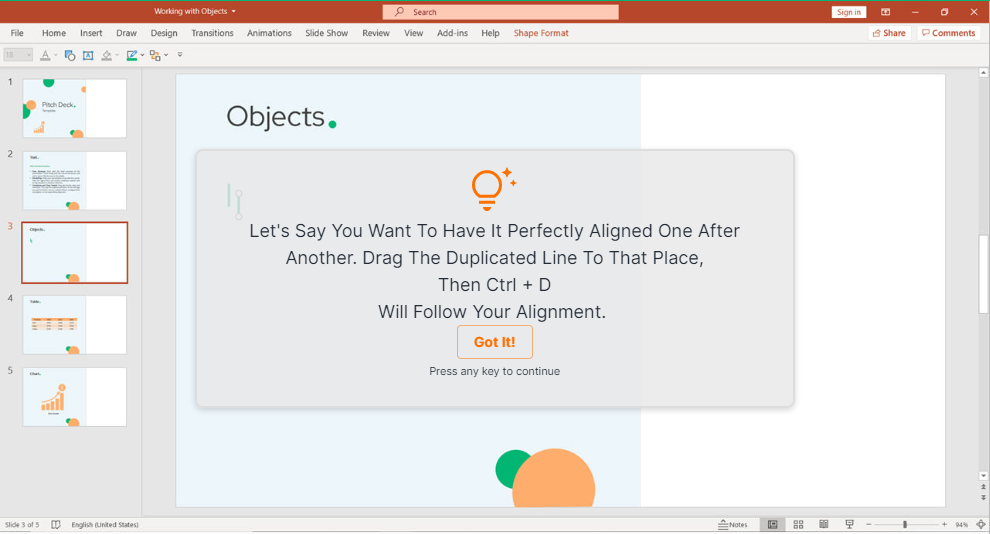
If you want to align your objects perfectly one after another, drag and drop the duplicated object. Then, press Ctrl + D.

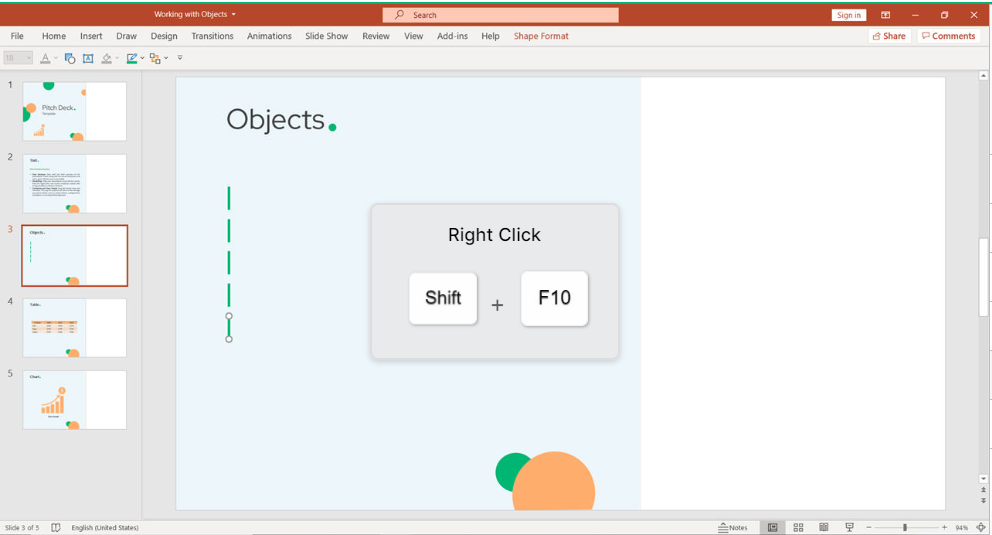
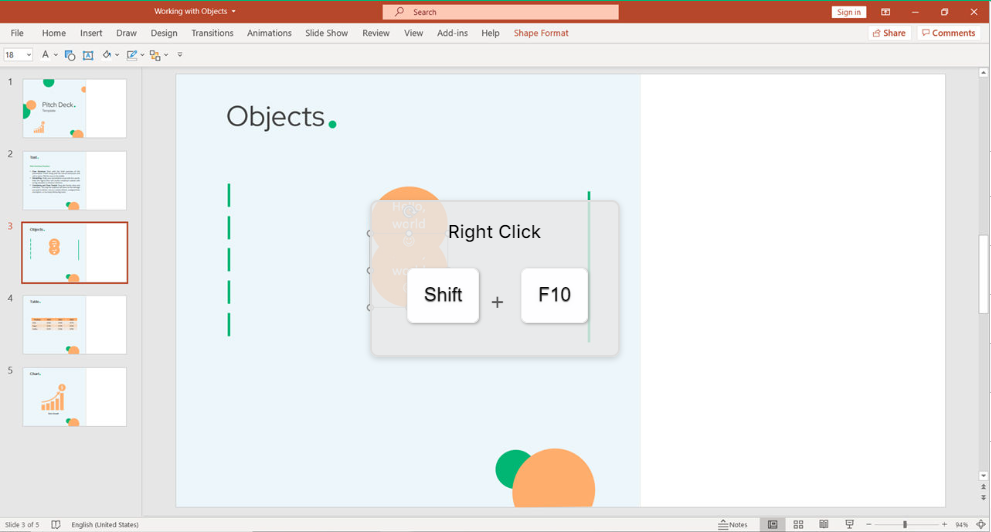
Press Right Click (Shift + F10) to open more options for selected object.
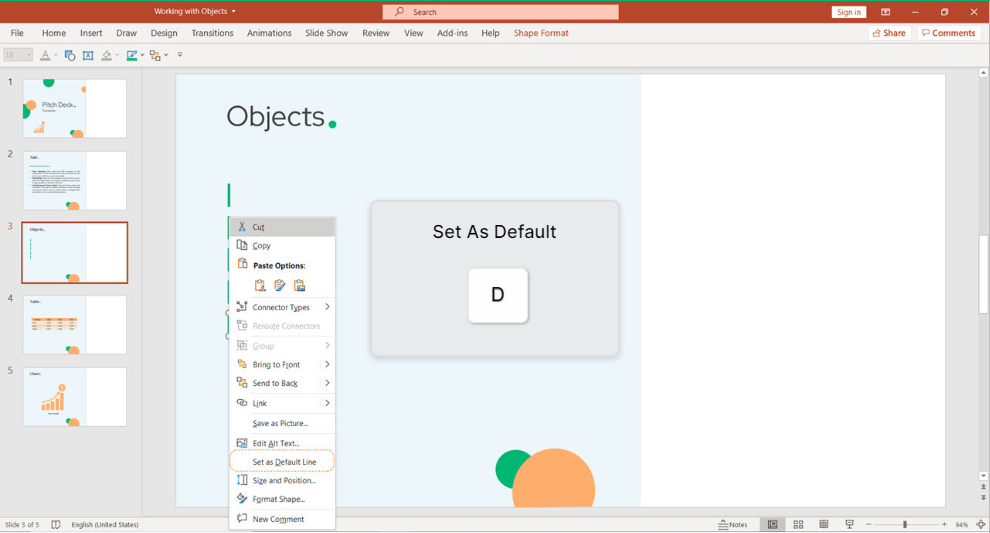
Then, set the object as Default by clicking on D.
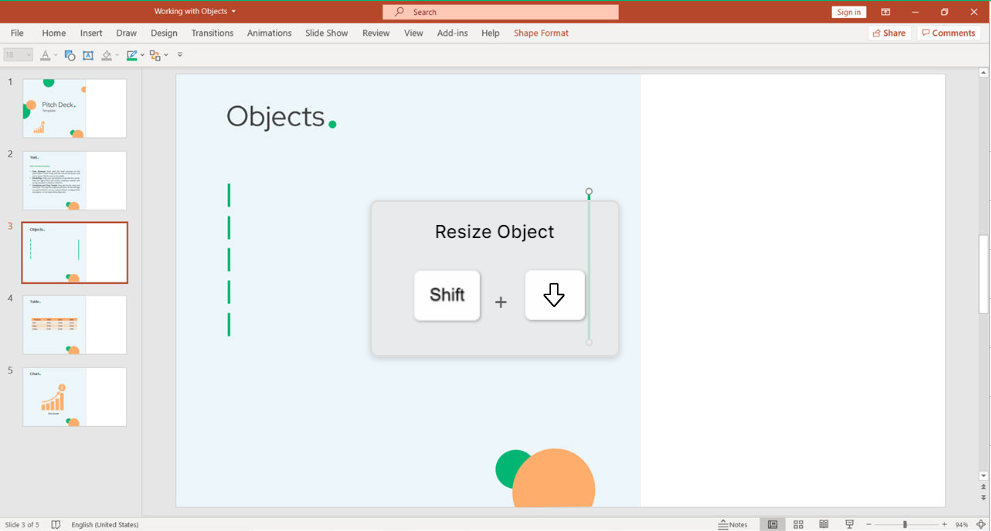
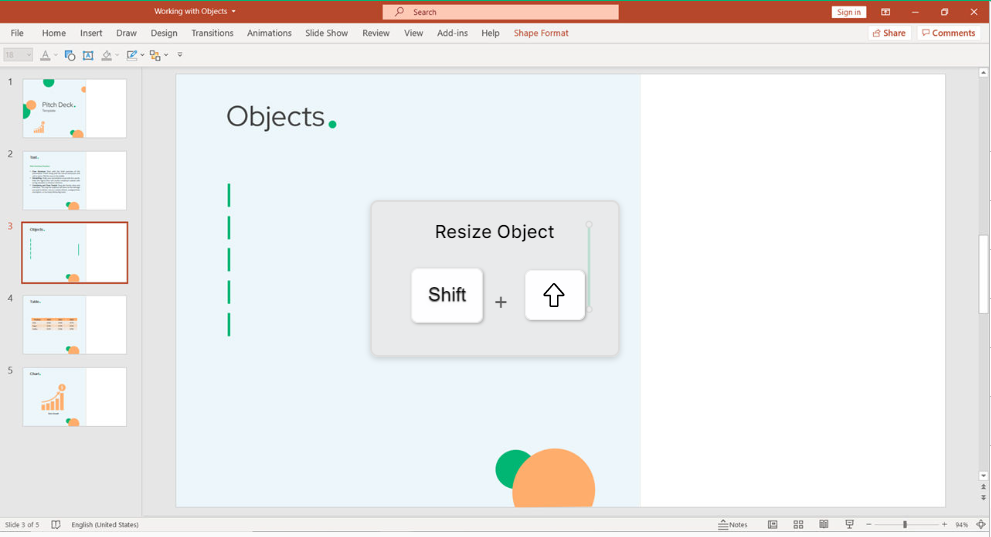
You can resize the object by pressing on Shift + Arrow (Up or Down).
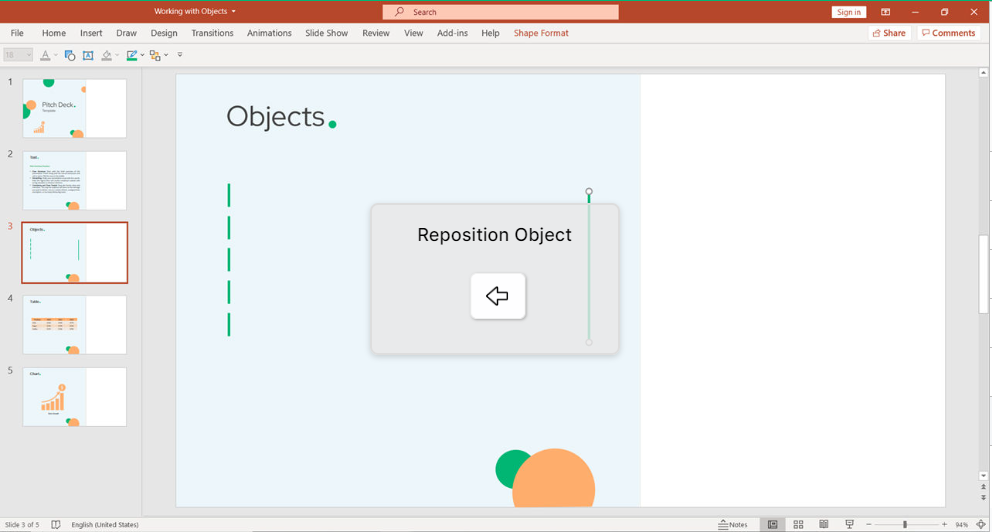
But, you can also reposition your object by clicking on Left/Right Arrow.
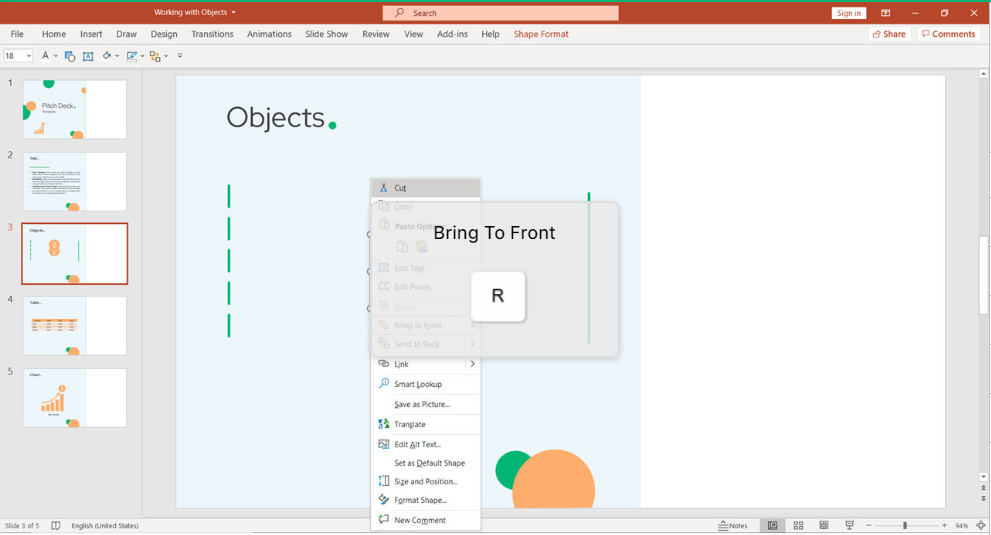
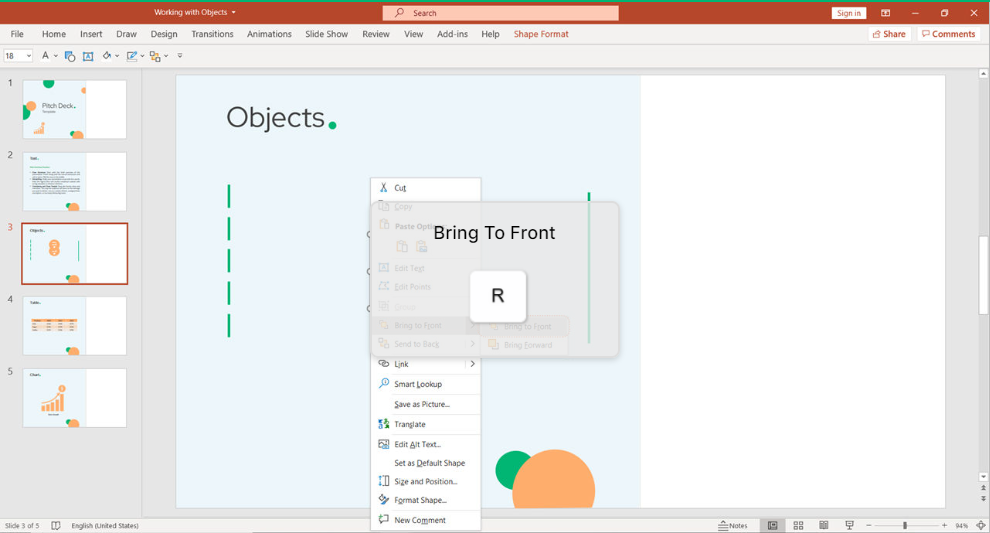
Right Click to open the options to navigate with positions of your object.
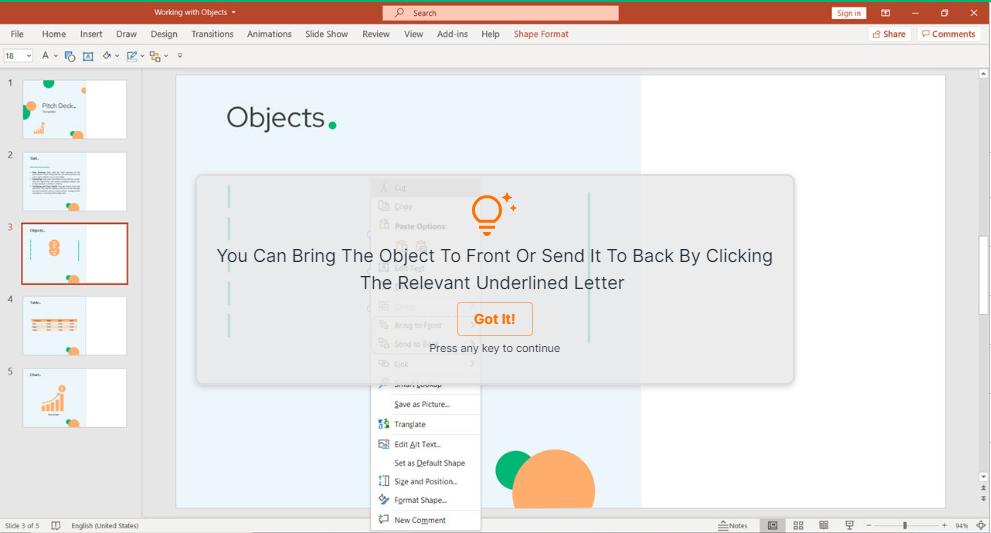
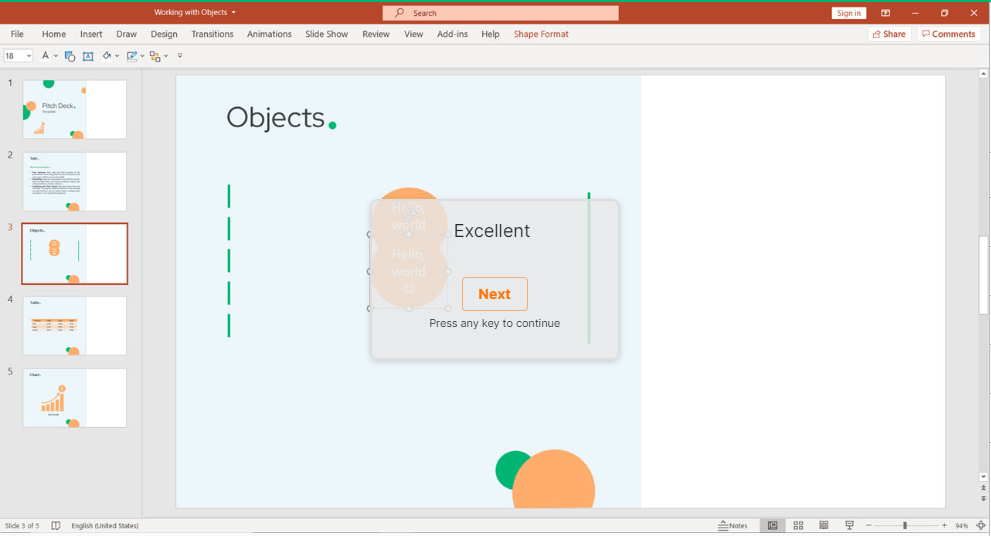
For example, you can Bring to Front (R).
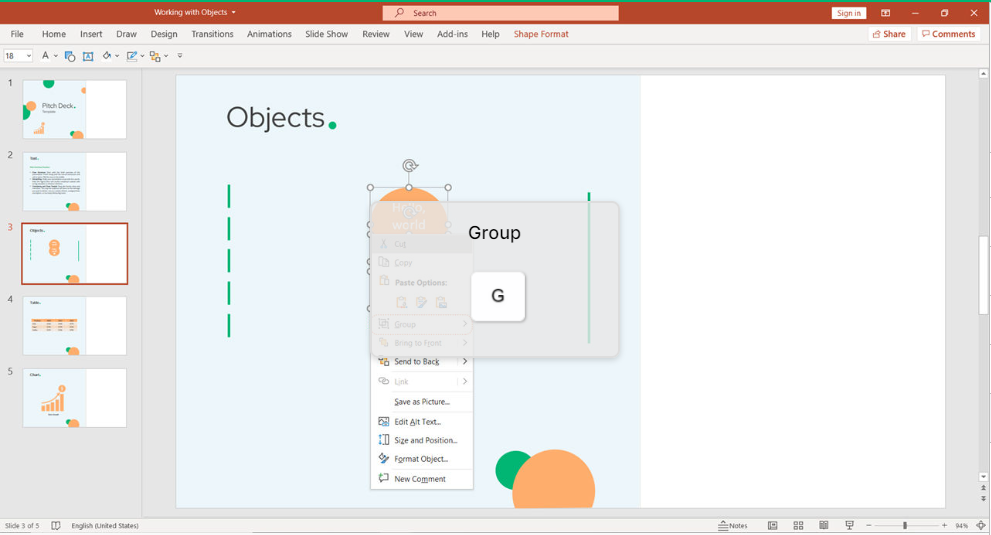
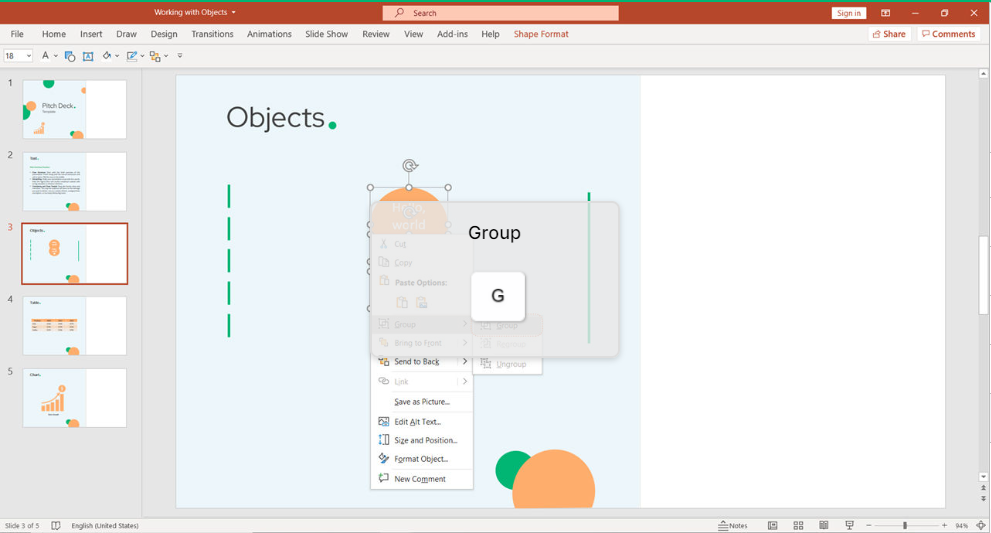
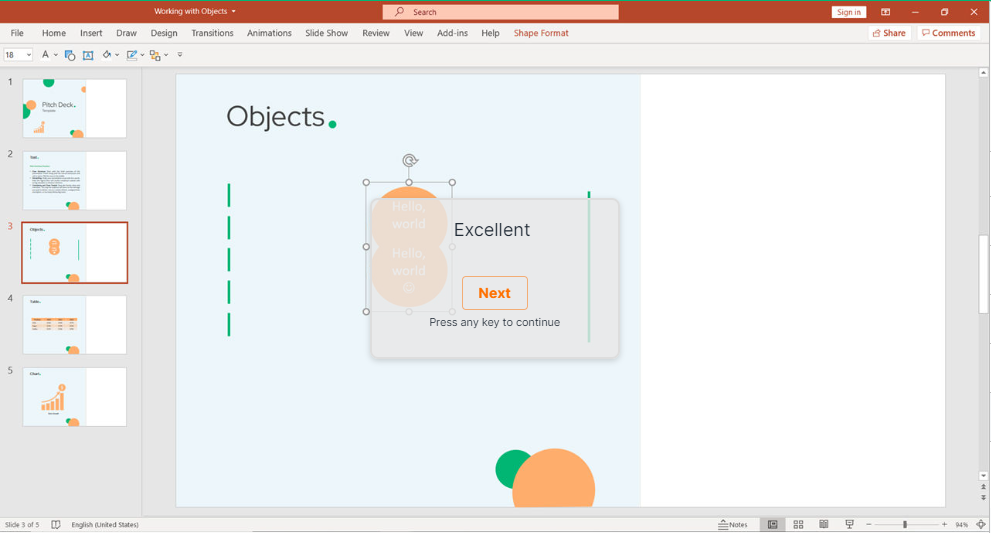
When you have multiple small objects and you want to have one image to work with, use shortcuts. In our case, you will Group (G)
Conclusion
Keyboard shortcuts are the easiest way to do things faster. However, with a wide variety of software, it’s hard to remember all the different shortcuts. Even though we all know they are useful, few of us bother using them. keySkillset is happy to provide the best solution on the market to build muscle memory when working with objects and shapes in PowerPoint.


.jpeg)
.jpg)
.jpg)


.jpg)
.jpg)


.png)

