


Introduction
For most visual presentations in business, PowerPoint is now the norm. The process of creating and updating them is very simple. Making it a visual aid rather than a visual disaster is the goal. Everyone can benefit from creating an effective presentation. However, it is also easy to get it wrong. To create a professional presentation, you need to master PowerPoint skills.
Check out the various advanced PowerPoint skills in this article.
How to make effective PowerPoint Slides?
Here, we will tell you how to create effective powerpoint slides and apply the presentation techniques.
Check out these step by step instructions below:
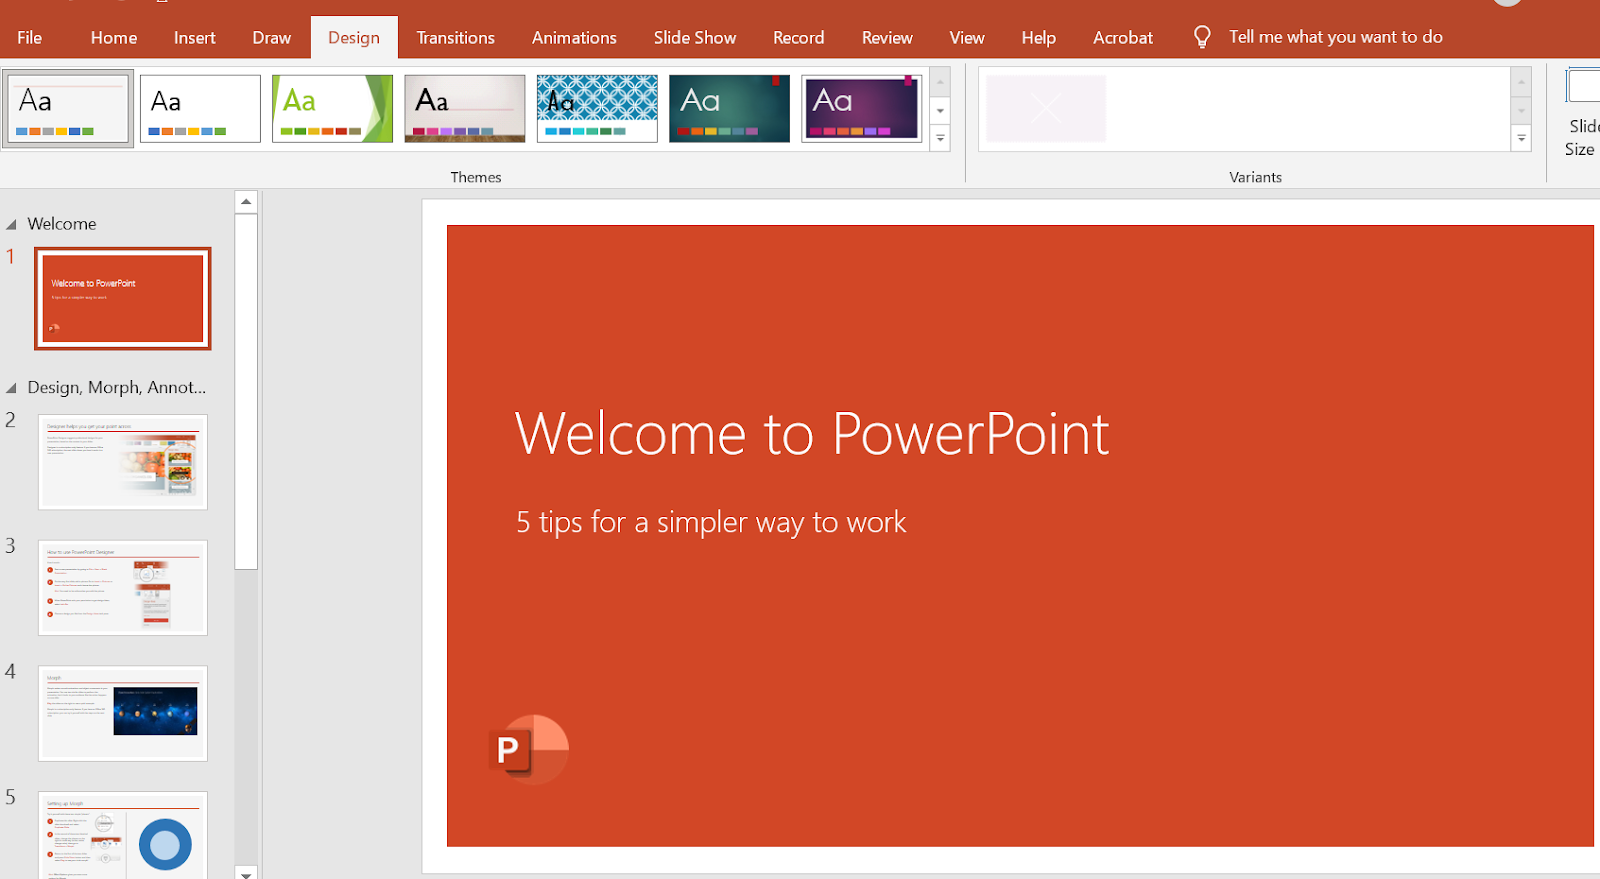
Step 0: Launch Microsoft PowerPoint
Step 1: Alternatively, you can click on 'New Presentation' in the File menu at the top left of your screen if a page with templates doesn't open automatically
Step 2: Either use the 'Design' tab or go to 'File' again and select 'New from Template'
Step 3: You can add a new slide by clicking the 'Home' tab and then the 'New Slide' button
Step 4: Include headings, text, and images on the slide

Step 5: Keep the amount of text within 6-8 lines (or at 30 words) at a minimum of size 24 pt
Step 6: Add images by clicking ‘Insert’ and clicking the ‘Pictures’ icon

Step 7: Add other elements by using features in the ‘Home’ and ‘Insert’ tabs on the top ribbon
Step 8: Play around with the layout by dragging elements around with your mouse
Becoming a powerpoint specialist is easy when you focus on the basics and the presentation techniques. Check out the important skills to focus on, when you want to be a specialist:
Important skills that you need to advance in PowerPoint
- Focus on the Basics
Most professionals like design experts, marketing professionals, lawyers, managers etc, have very little knowledge or training on the usage of Microsoft PowerPoint. Knowing the basics helps to cut down on the time and effort it takes to create powerpoint presentations. You will need to work on your presentation skills ppt. For this first try to understand the type of presentation you are looking to create. It could be anything:
- Based on templates
- No of slides
- Fonts and colors usage
- Watch the speaker's notes
- Profit from various views and viewing modes
- Just keep it simple
- Begin by selecting the right template
PowerPoint has base templates that explain the color, policies and layouts. It is important to use a strong, well designed template. Always choose the one that suits your content the best. For technical presentations or professional presentation examples, it's best to keep it simple.
- Master the skill of changing slides
Apart from the above, it also pays to be careful about other presentation techniques. Behind each slide is a master slide that controls the design of that slide. The layout of each slide can be changed manually. However, if you need to change the global formatting for all slides of one type or another, you do not need to change each slide individually, but modify the master slide. In PowerPoint, you can view and edit master slides from the view tab.
- Make use of placeholders properly
Pre-formatted containers for text, graphics, and video are known as placeholders(as given in the screenshot below).
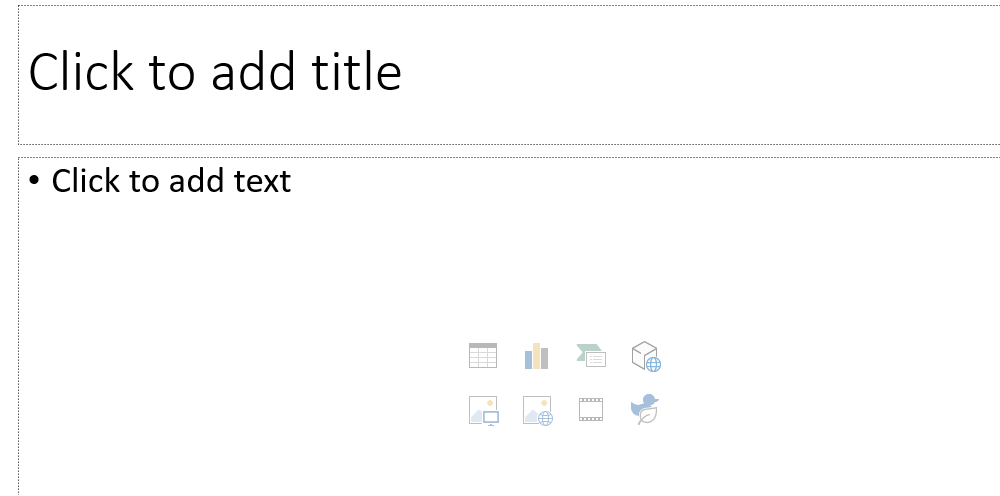
You can recognize them from the icons that appear on the slide when they’re empty. You can use these to insert the right format of content in the correct place on the layout.
- Learn to apply fonts and colors
Do not use too many fonts and colors. Change those only if required and for a reason. The message should be conveyed clearly to the audience, whoever they are. Primary colors usually catch the attention of the audience better
- Use a lot of charts and graphs
Use tables for inserting, adding data, modifying and formatting data or for copying and pasting content. Use charts and graphs for visualisation of data. You can show the facts in the form of visual effects which helps to make the presentations effective.
- Make sure to add a conclusion slide
Your presentation should have a conclusion. Make sure there is a proper ending, a separate conclusion slide to your presentation, which contains the entire summary points of the presentation.
3 powerful hacks to keep PowerPoint presentations beautiful!
No more bullet points - Super Fast trick to turn simple text into a more presentable format. This comes in really handy when you need to create a PowerPoint agenda or list of topics.
Start by inserting a text box first, then start typing the words without worrying about the format. Just type in the text that you want, For example, maybe add the agenda for the meeting.
Go to the home tab, click on convert to SmartArt.
So, the moment you hover over these, it breaks up your texts into fancier types of text. Once you have the option you want you can click on OK.
Then, you can also convert them into shapes.
Click on the entire object and then use the shortcut key Ctrl + Shift +G.
This ungroups the shapes. You might have to do it again, especially if there are more than one layer of groupings in the text. This gives each an individual shape here. You can also right mouse click and select ungroup here. You could give these different colors. You could also number these elements. Then, you can group the three objects together. First, hold down the CTRL key, click on the objects and then press CTRL + G to group them together.
Meanwhile, instead of holding down ctrl, you can also highlight them and press CTRL +G, three separate times for each of the objects.
Effortless PowerPoint animation with Morph Transition- Easily create modern morph animated slides. The morph slide transition is one of the easiest and fastest ways you can create impressive animations in Powerpoint. These are simple to apply to your slides.
For this leave the objects separate. When you commence your PowerPoint presentation and want just one topic in the middle of the slide. My idea is to blend these into the second slide. Start by duplicating the slide. Now to get to the effortless transition part. Make the slide smaller, so that I can remove the objects from the slide, move them down, rather than delete them. Move them out of the view. Pull it down. Push the shape to the side. Put the title to the centre, or where you want it to be. Because if presented without any animation this would be boring. You could of course work with the animation pane, but that is a lot of work and you may not have the time to play around with the options. So, this hack makes the process effortless. Now, go to transitions and click on Morph. That does the trick!
This animation is basically a slide transition.
Enhanced Morph: The existing morph transition has been improved on in the latest version of Office 365. Now you can morph between different shapes! And it's so simple! You just need to name the two different objects the same - but start with 2 exclamation marks (!!). That's it. All you have to do is present.
In the enhanced Morph, it does actually Morph one object into the other. Just follow the steps.
Bring up the selection pane (Use Alt+ F10 to bring this up) or
You can use the home tab, go to select, then
What you can do is change the label of Excel to the identical label of the object on the second slide. Add two exclamation marks and then excel. Do the same with the powerpoint icon(object 2). Repeat this in the second slide. Now, the Morph is activated. It Morphs the one object into the second object. So, there is this really nice smooth transition effect. Way to make it work is the exclamation marks. If we call them both just Excel, without those exclamation marks, then this is not going to work.
Conclusion
If you want to improve your powerpoint skills and make really impressive presentations at work, you need to check out more such impressive suggestions and hacks. And at keySkillset especially, you can find a mouse-free approach for PowerPoint that also helps you learn time-saving features and shortcuts that will make you a pro at presentations. You can also find a faster way to easily build presentations.
You can also check out the free trial access for other courses here at keySkillset.
.jpg)
.jpg)

.jpg)
.jpg)


.png)

