
.jpeg)
PowerPoint presentations contain all types of content: text, video, audio, and images. Slides that are simply text need some variety to hold your audience’s attention. Whether it’s a photo, illustration, or graphic, PowerPoint has editing tools to import and edit your image files.
Images often need cropping, resizing, and more tweaks to fit in a presentation. For example, apps like Photoshop have image editing tools, but they’re difficult to learn.
Fortunately, PowerPoint has image editing essentials inside the app. You can add images in your PowerPoint presentation and edit them without even opening a separate photo editor.
What are the PowerPoint image tools?
- Resizing. Scale an image in PowerPoint to the correct size for your slide.
- Rotating. Flip an image to face the correct direction, including mirroring it horizontally or vertically.
- Cropping. Select a part of an image in PowerPoint to remove.
- Removing picture backgrounds. If your image has a white background and you want to remove it, PowerPoint has a tool for it. This will create transparent images in PowerPoint.
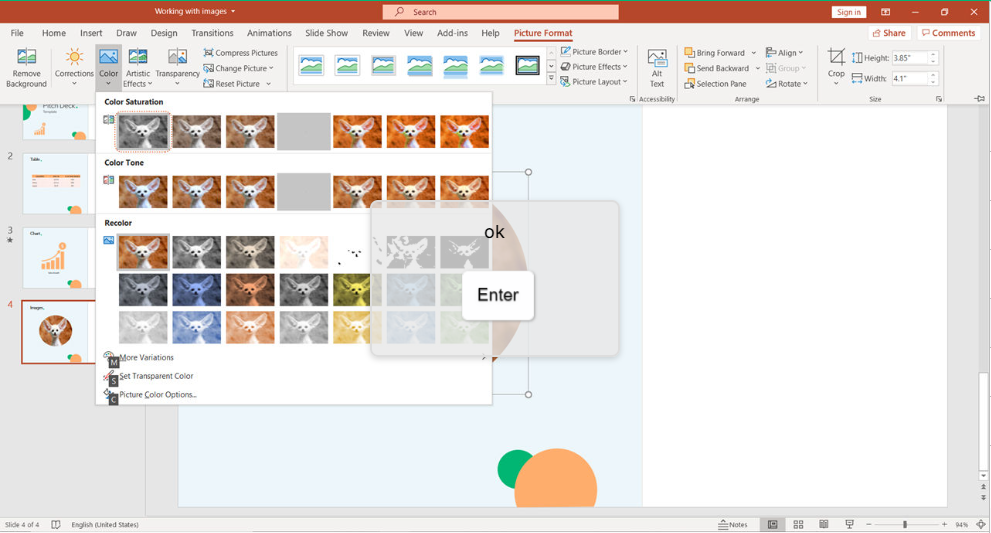
- Image effects. Add color tints and adjust image saturation (including black & white) inside your PowerPoint presentation.
How to quickly work with images in your PowerPoint presentation? (Watch & Learn)
The following screencast will show you the complete set of image editing tools in PowerPoint. I’ll teach you the steps from importing a picture onto your slide to correcting and editing it.
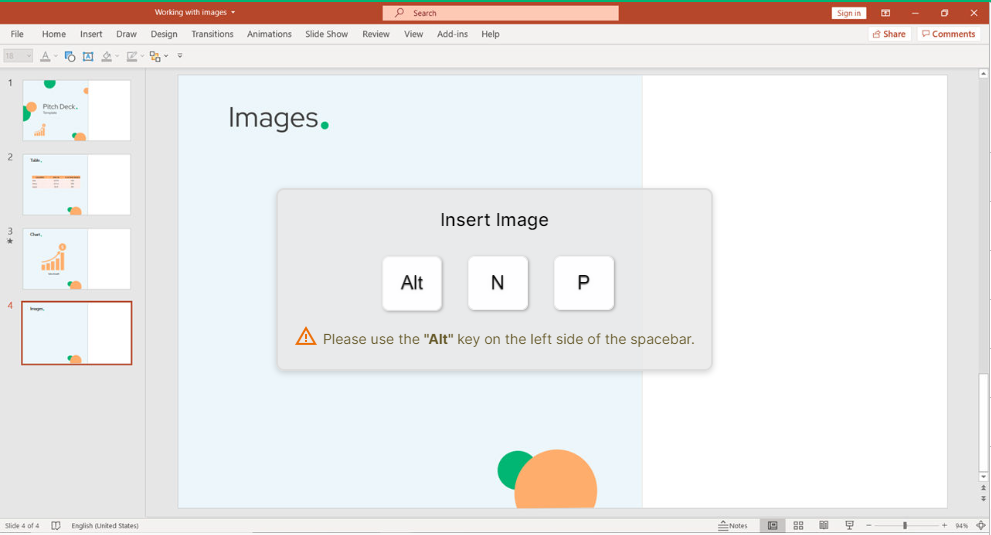
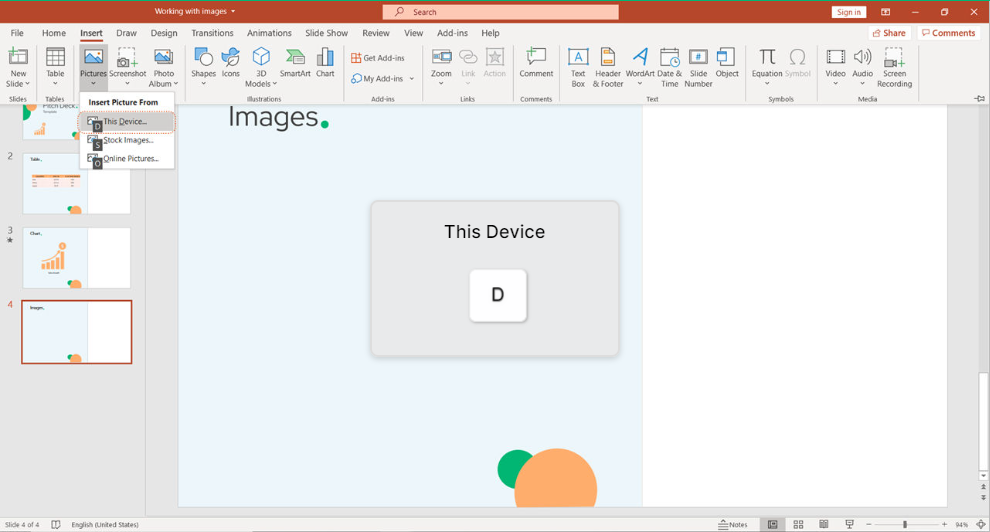
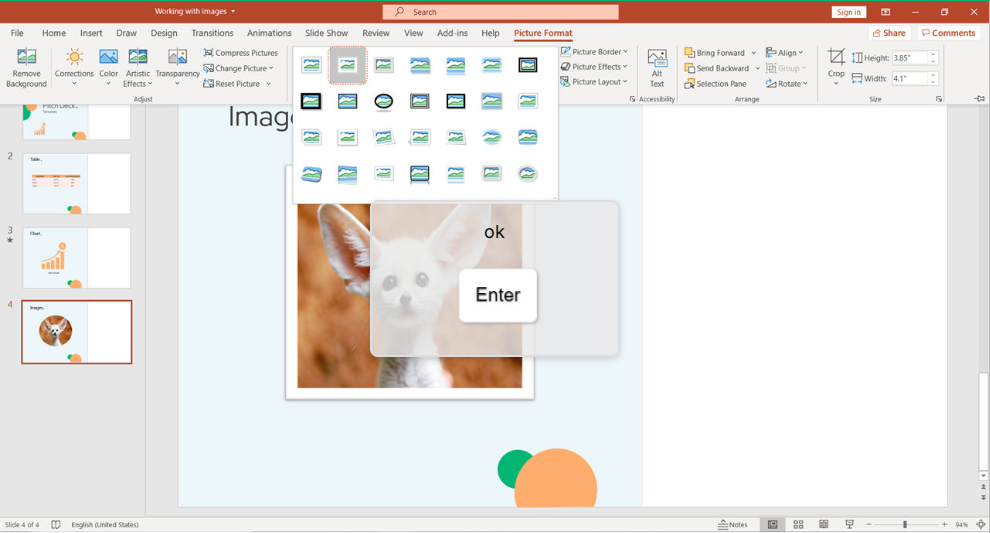
Insert a picture fast by using Alt N P. Then click on D when you want you insert an image from your device.
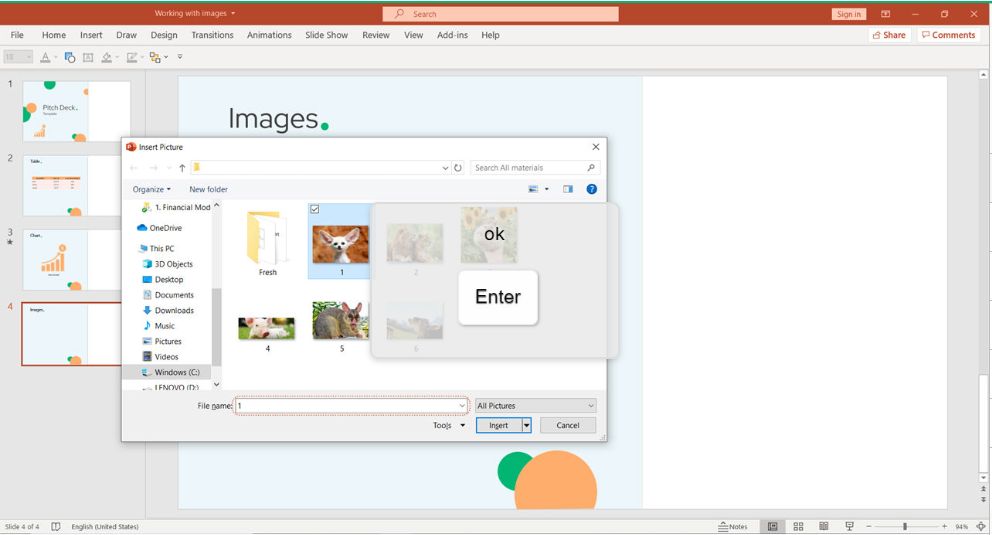
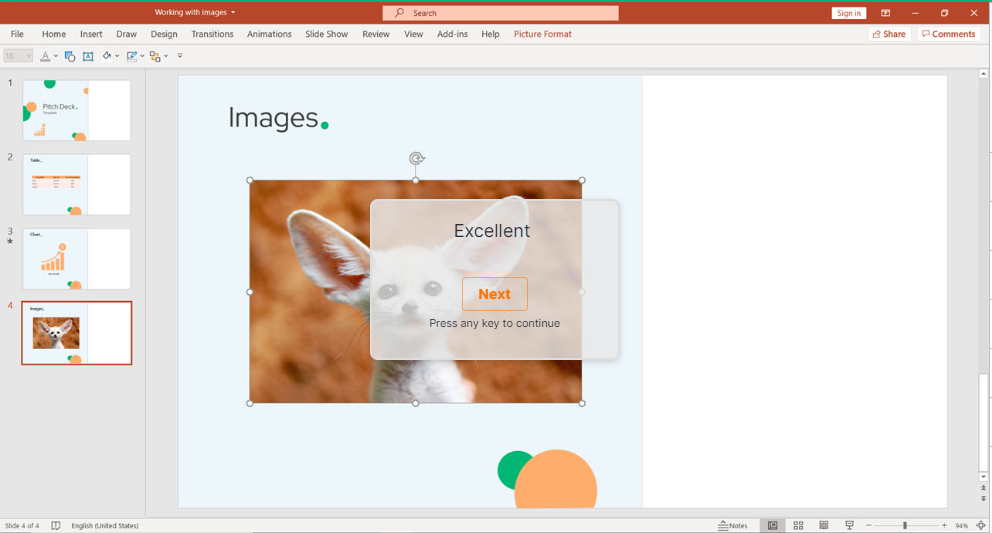
A window will appear and open your library with images. Select your favorite picture and click Enter.
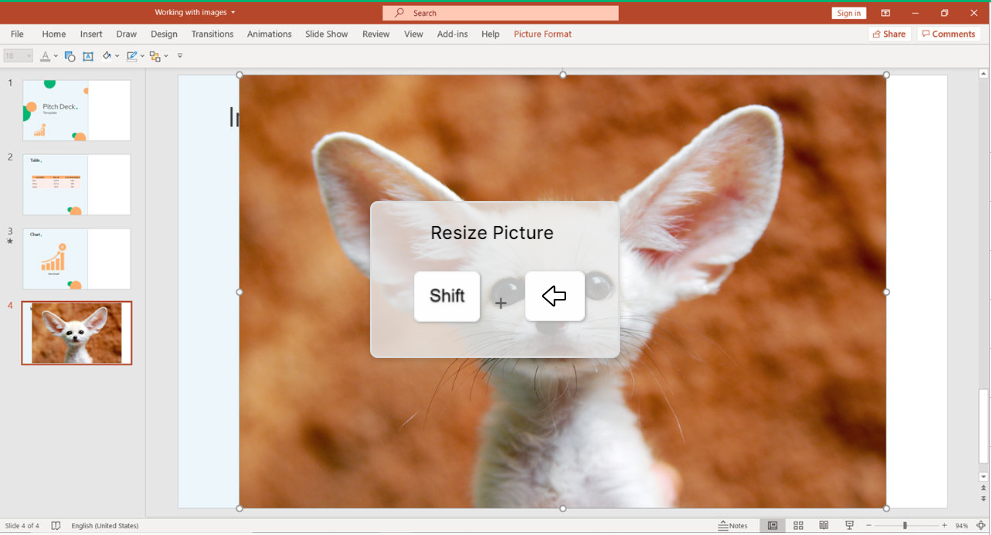
The image will appear instantly and will most probably cover your slide (especially if it’s a high resolution image). No worries. You can fix that and resize it by using shortcuts Shift + Arrow Left.
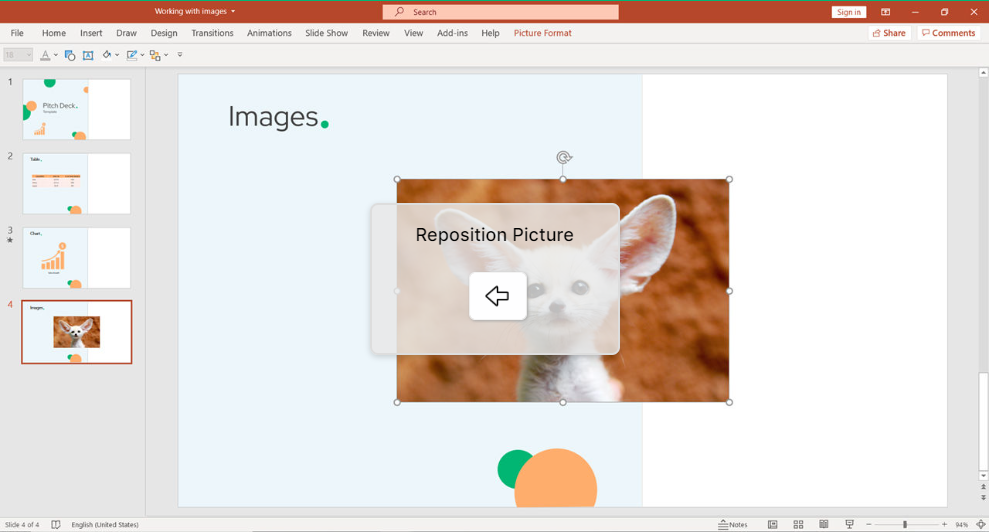
To reposition your photo, make use of Arrows on your keyboard.
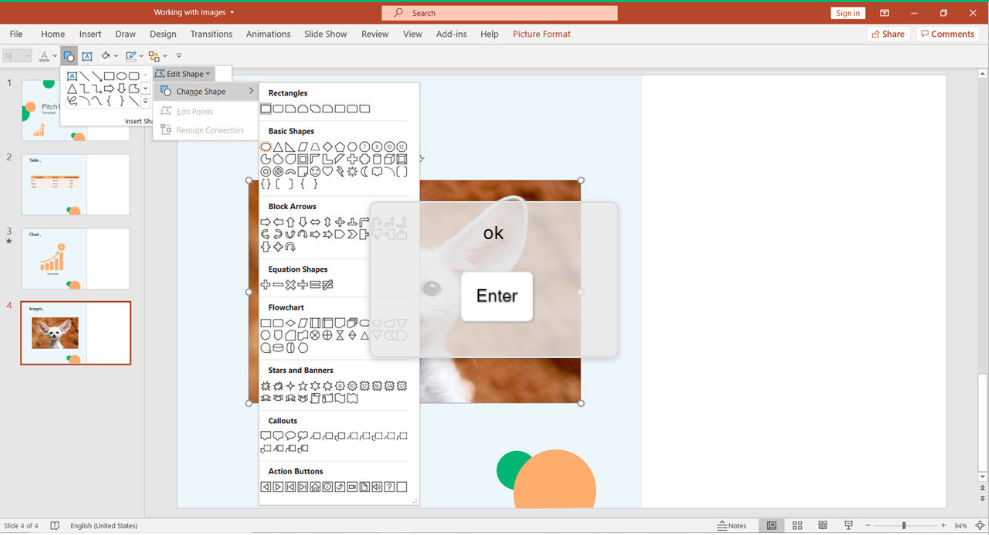
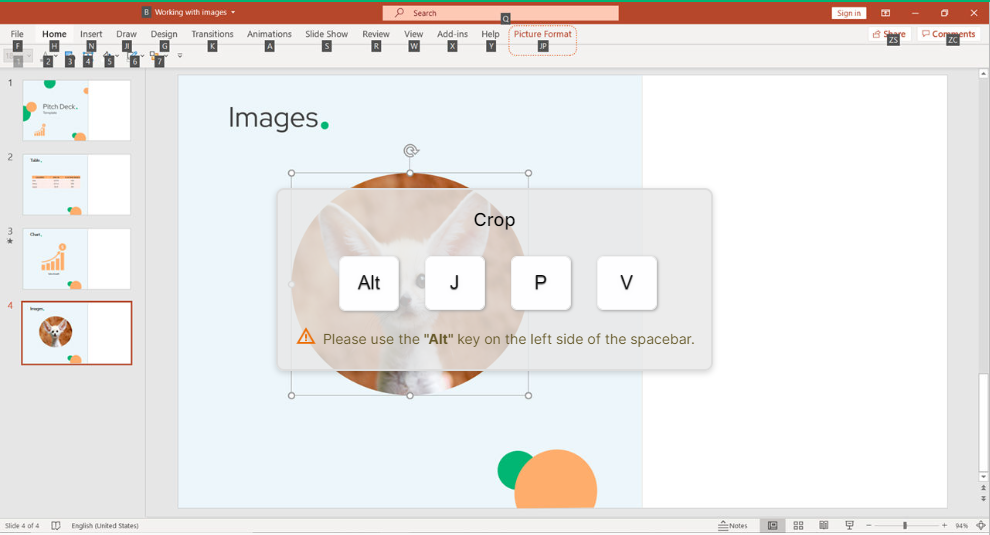
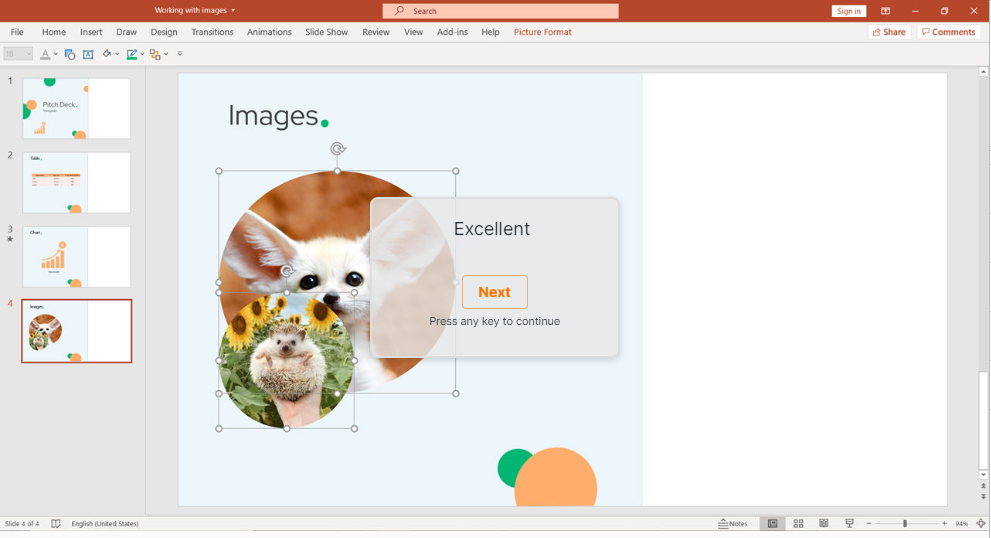
In our case, we want to crop the image into circle. You can do that by clicking on Alt J P V C. Then select S, which means Shape. Choose the round shape by navigating with the Arrows and click Enter.
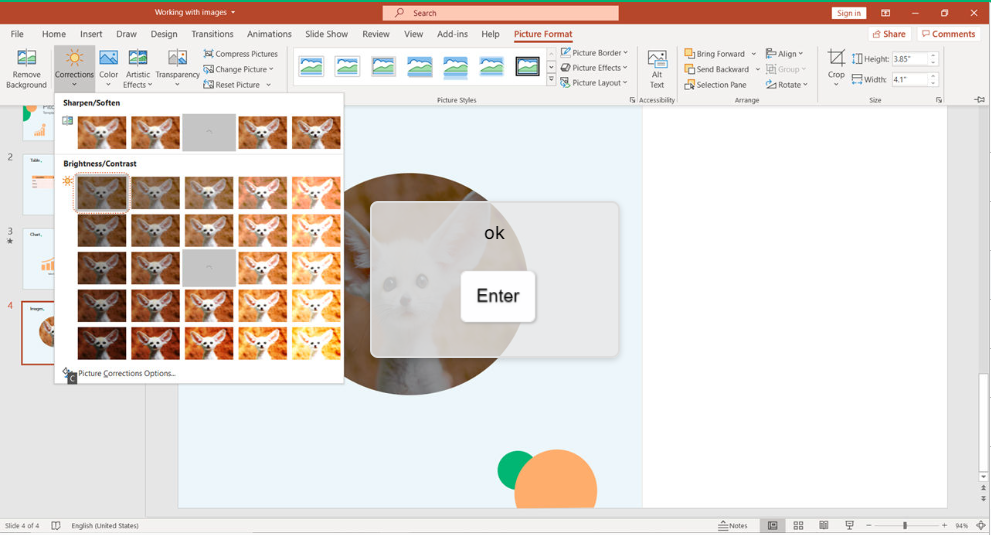
How to use Picture Corrections?
Here are a couple of interesting tricks to correct your picture in terms of style. Use Alt J P R to open the corrections section.

Navigate with the Arrows and choose your favorite, then press Enter.
You can even enhance your image color by using Alt J P I.
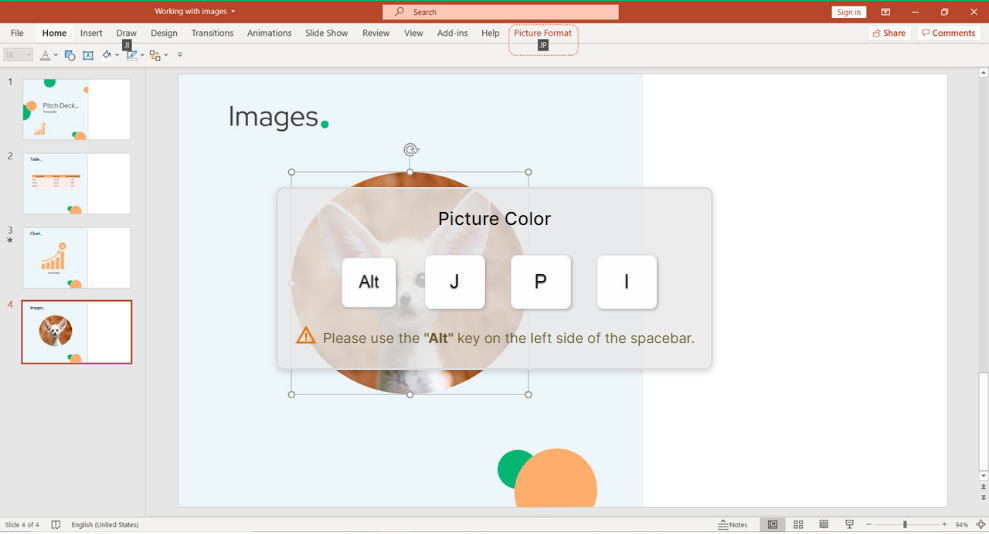
For example, you can make it B&W and click Enter.
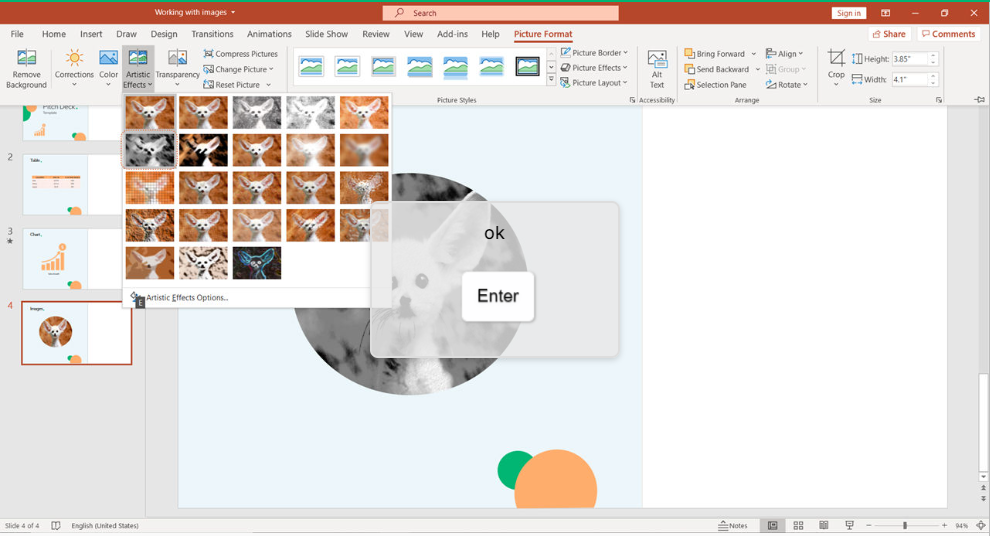
Presenters like to add artistic effects to enhance their images. You can also do that by using Alt J P X.
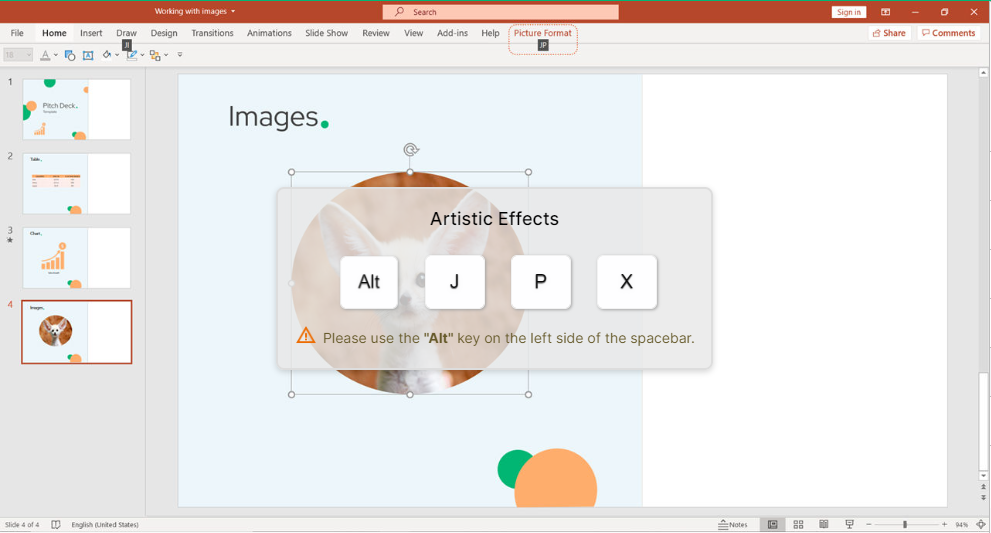
Once you chose the appropriate one, click Enter. As a tip for business professionals, try to use these effects moderately. Otherwise, your image will become very disturbing.
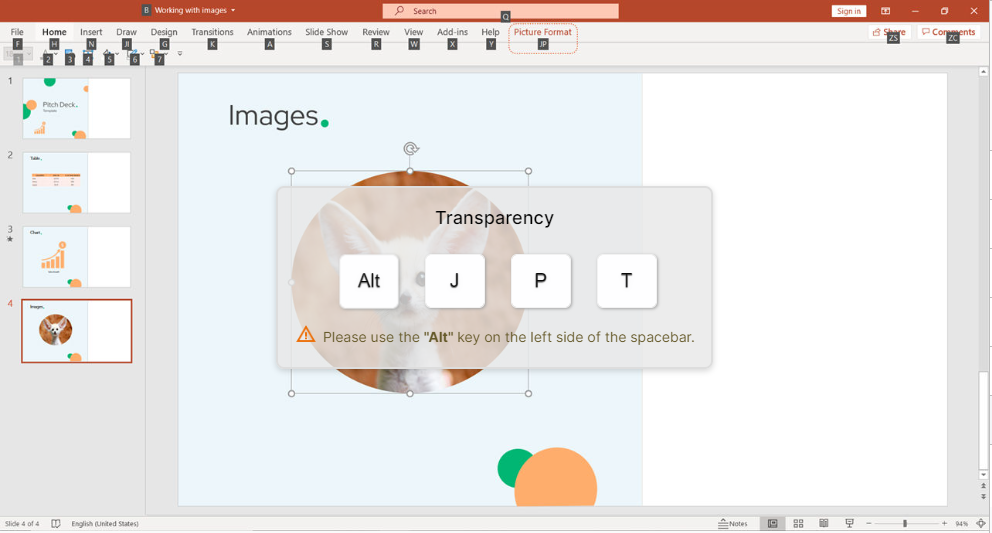
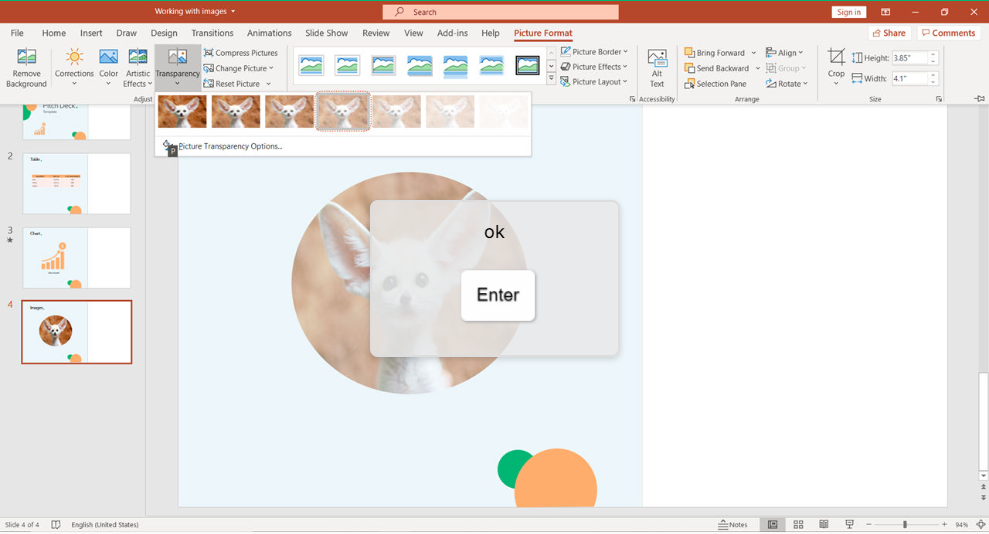
Adjust the transparency of your image with Alt J P T.
You can choose different picture styles by clicking on Alt J P T.
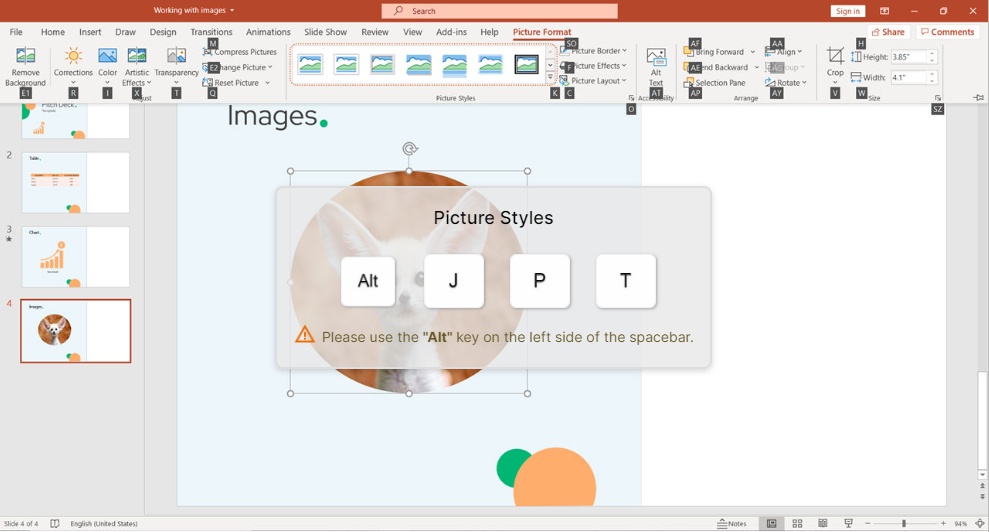
Then, select your favorite and press Enter.
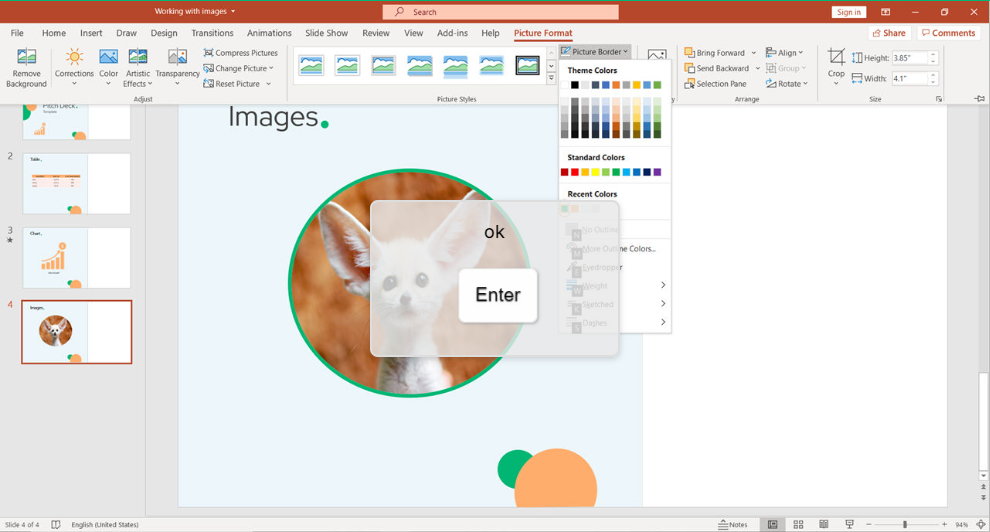
You can change the picture border with Alt J P S O.
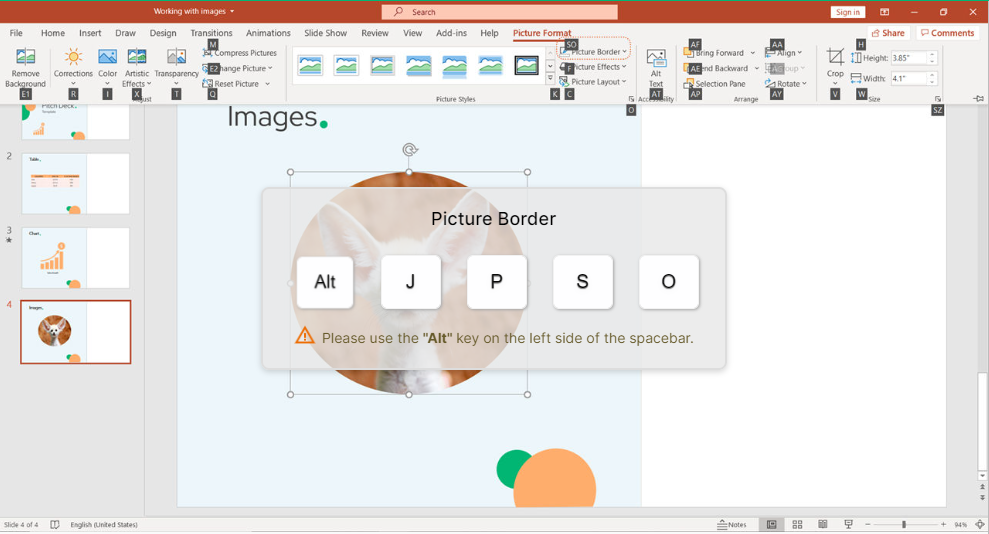
Select the appropriate color and press Enter.
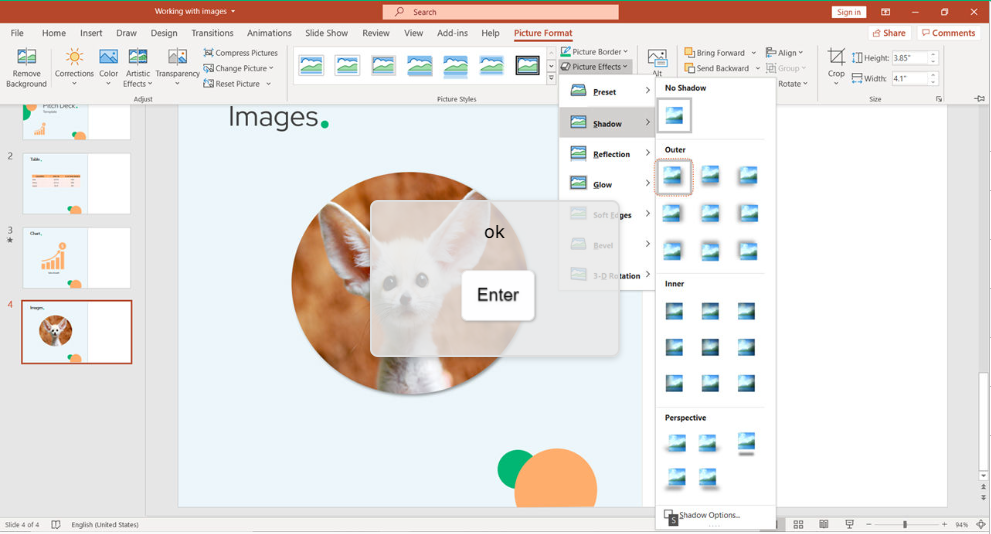
To add effects to your image, use Alt J P F.
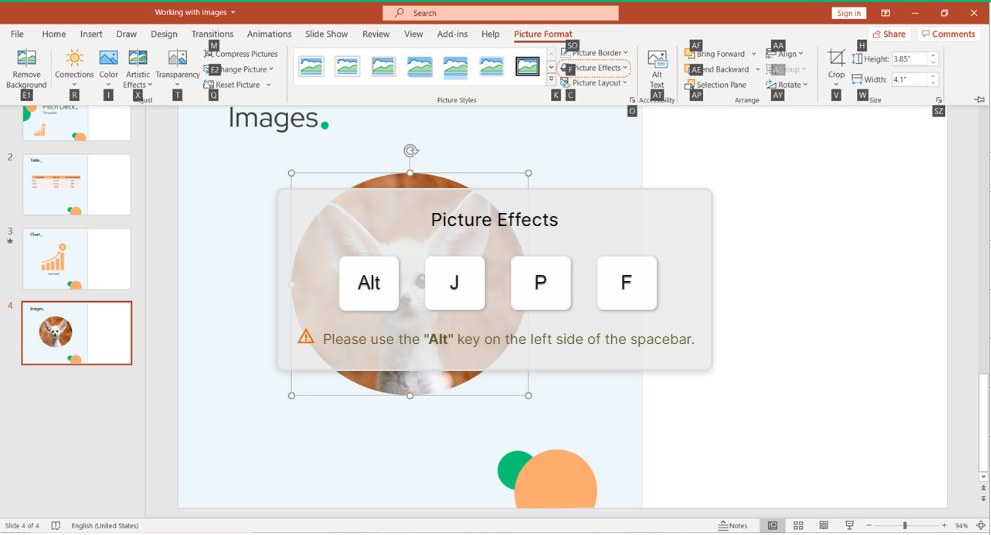
For example, you can add a shadow by clicking on S.
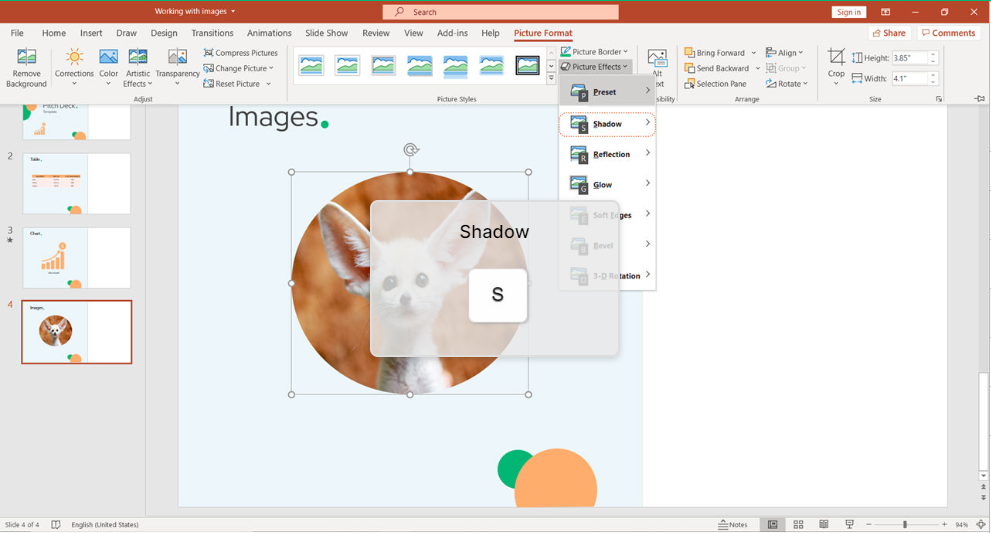
Choose your favorite shadow and press Enter.
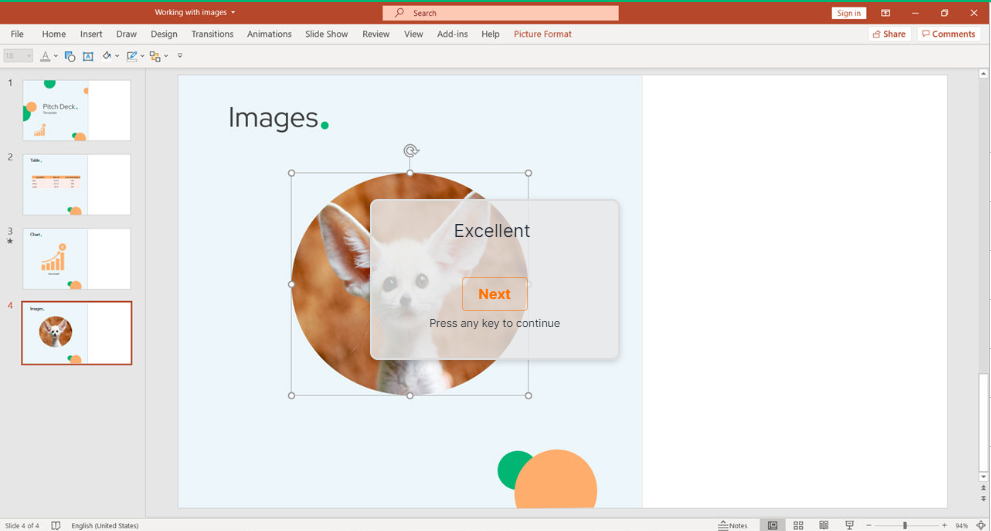
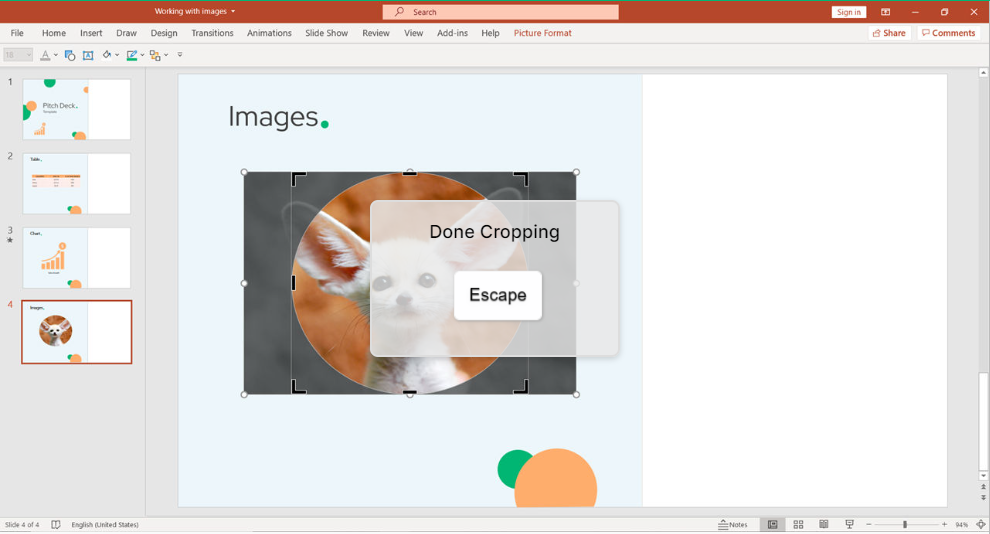
Earlier, we cropped the image in a circle shape. However, there is another interesting trick to show. Press on Alt J P V.
Select Fill option with L shortcut.

It is a small correction that filled up your image and made it look bigger. Once you are done cropping, click Esc.
How to work with two images?
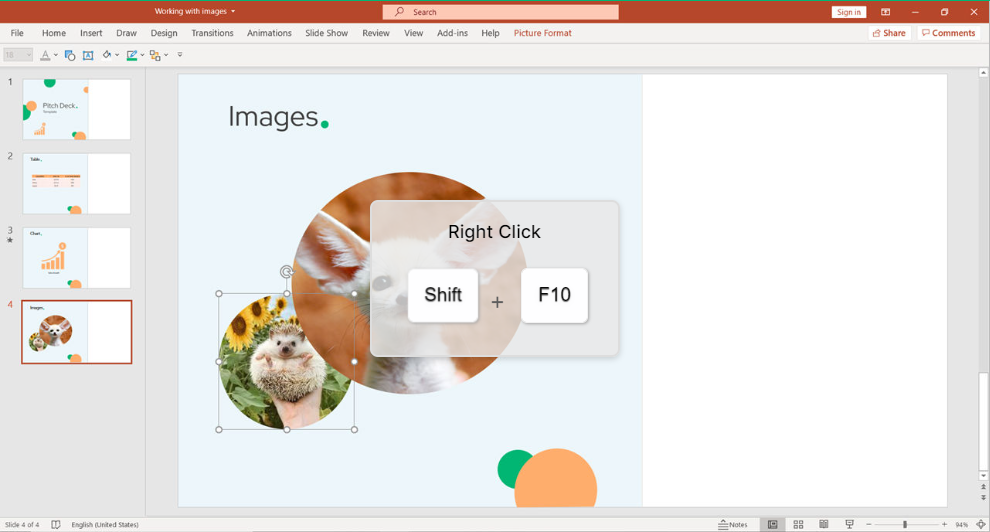
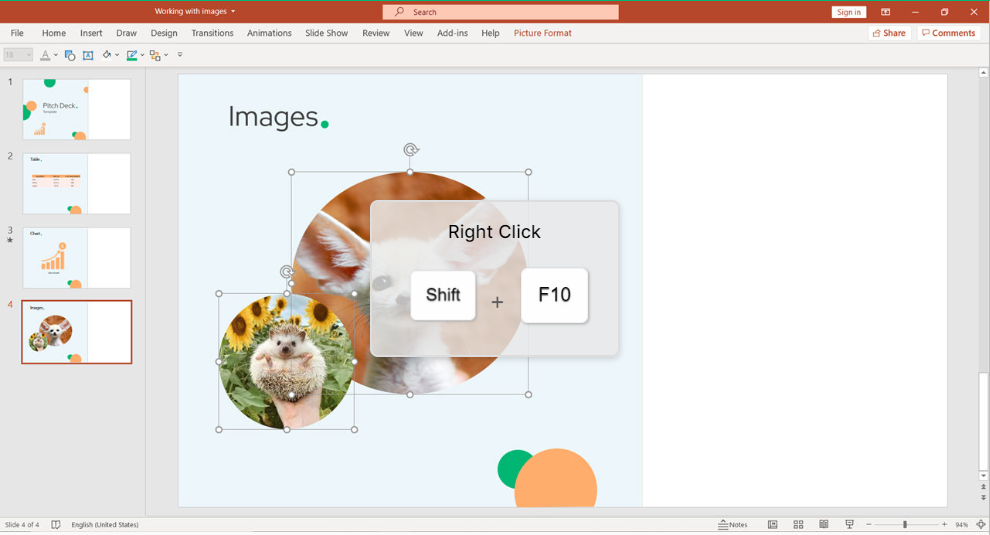
Now, let’s work with two images. Repeat the same actions of inserting an image onto your slide. Then, Right Click (Shift + F10).
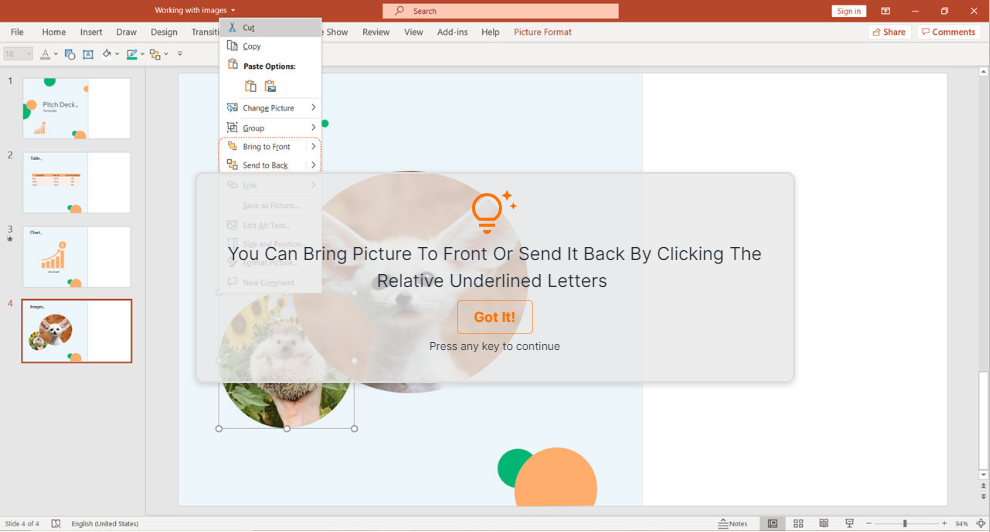
In some cases, the image may already appear in front. But in our case it’s in the back. We can change that with the shortcuts based on underlined letters. It’s a great hint when you don’t remember all the shortcuts.
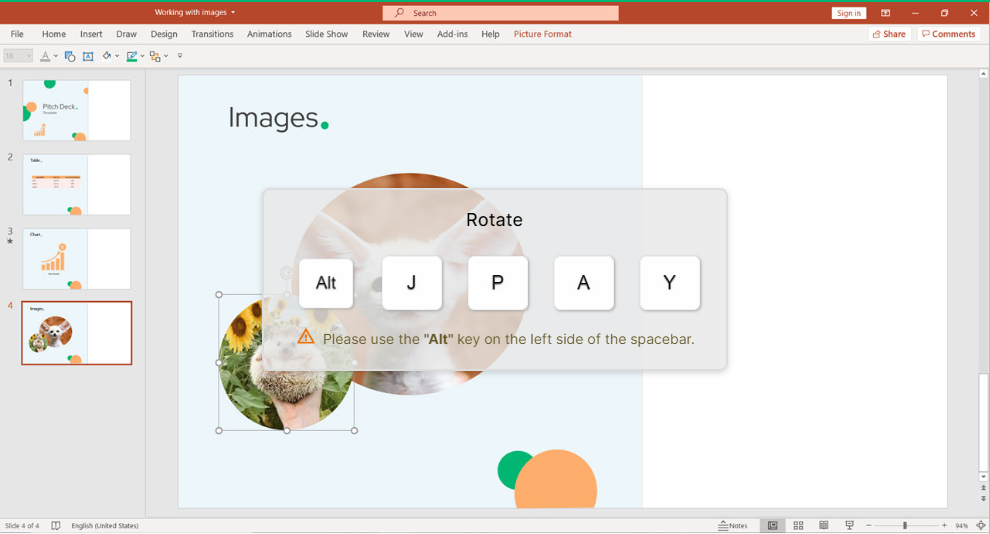
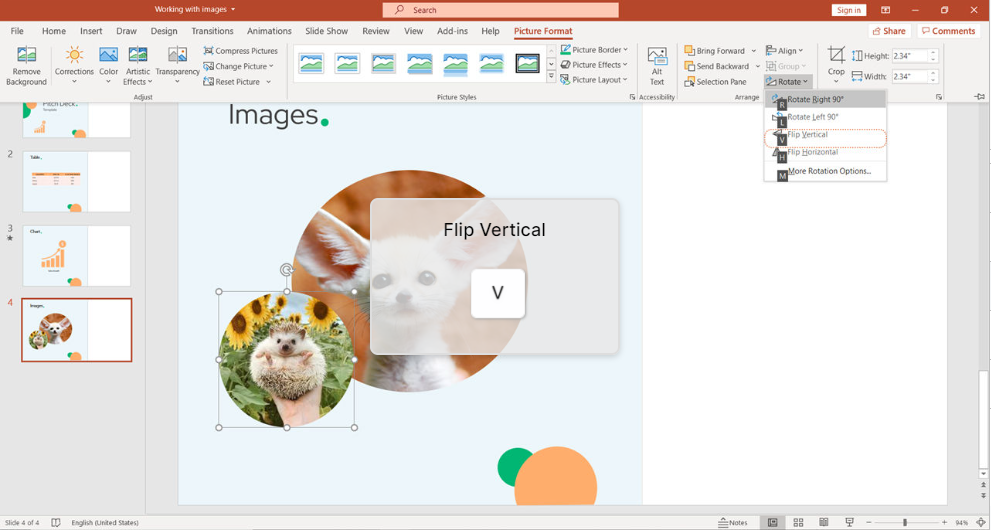
Select the second image and rotate it by using Alt J P A Y.
Flip it vertically with V shortcut.
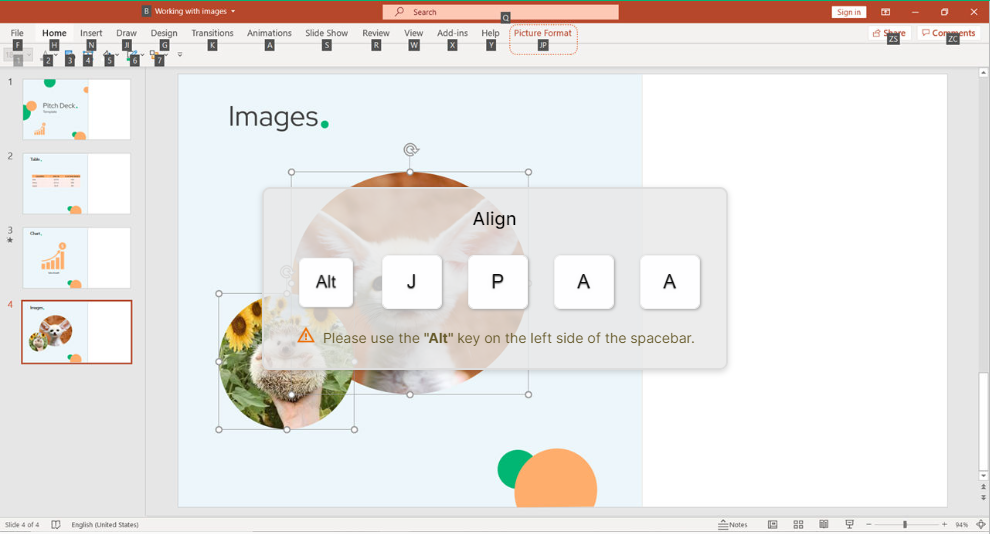
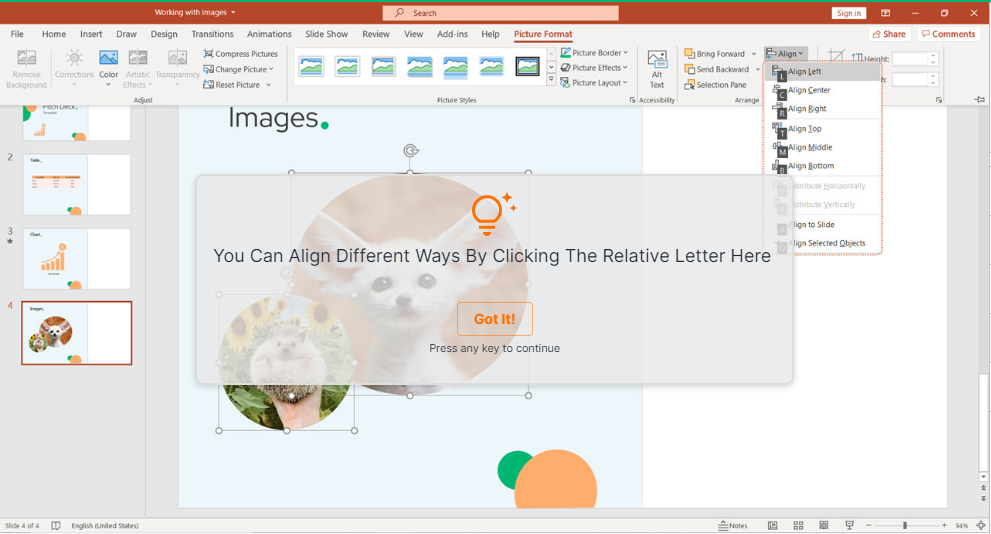
Besides, you can align the image with Alt J P A A.
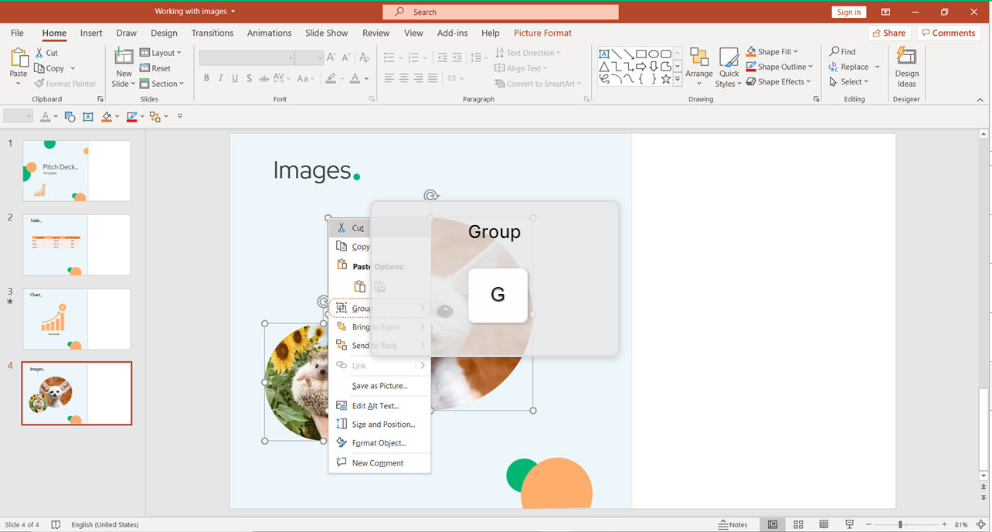
In case, you want to apply the same effects or corrections to both images, group them. Open the option bar (Shift + F10) and click on G for grouping.
Now you can work with both images simultanously.
Why use images in your PowerPoint presentation?
A significant percentage of the population are visual learners. That means information is easier to understand when presented visually. Giving a great presentation is all about sharing information in intuitive, easy-to-understand formats. Let’s look at three ways that pictures can help improve your presentation:
1. Pictures Transform Boring Slides
A single photo is enough to transform a slide. For instance, think of a great photo as the bait to grab a viewer’s attention. Text alone might not be enough to entice an audience to read the content. But when you pair it with an exciting image, a viewer’s eye flows to content.
Basically: Microsoft PowerPoint images increase the odds that your viewer will consume the content. Learning how to make and edit slides with pictures is crucial as a presenter.
2. Pictures Are Powerful Storytelling Tools
The old adage “a picture is worth a thousand words” is a classic saying for a reason. Sometimes, text alone isn’t enough to convey a message. Therefore, PowerPoint photos give visual learners a new way to understand information.
Maybe there’s a concept that you can’t explain perfectly in words. But when you show a few carefully selected images, the idea comes to life. Think of pictures as more than complementary. Sometimes, they’re a must.
3. Pictures Help Viewers Relate
What if we viewed a photo as a tool to inspire empathy? Sometimes, a well-placed photo of people can help your audience put themselves in others’ shoes.
Images in your PowerPoint presentation: Dos and Don’ts
Before we start learning how to put images in your PowerPoint presentation, let’s review a few more guiding principles. These three tips for working with PowerPoint pictures can can make a difference.
1. Number of PowerPoint Images
- Do: Add images to the extent it enhances your slide.
- Don’t: Add images in a way that obscures content or distracts the audience.
There’s a balance to be found when you start adding PowerPoint photos. You don’t want to obscure your slide content with too many photos. Eventually, try not to exceed more than three medium-sized images or two large images on your slide.
2. PowerPoint Photo Licensing
- Do: Use an approved source for adding images.
- Don’t: Hit Google Images and download liberally.
As we mentioned above, copyright matters! You don’t want to be caught using a photo that isn’t approved and put yourself at legal risk.
Conclusion
Keyboard shortcuts are the easiest way to do things faster. However, with a wide variety of software, it’s hard to remember all the different shortcuts. Even though we all know they are useful, few of us bother using them. keySkillset is happy to provide the best solution on the market to build muscle memory and learn the power of images in your PowerPoint presentation.
.svg)

.svg)
Start learning new skills with the help of KeySkillset courses and our learning management system today!


keySkillset is a Learning Management System developed to make learning key business software skill sets easy through guided simulated learning.


